How does one become a master of both Light and Time?
I need to promise you something, I am not talking about becoming a wizard. If you want to become a wizard, I would suggest you begin reading either Harry Potter or The Lord of the Rings. But what I can show you is how I began practicing “magic” with a camera. Yeah, see what I’m saying. So for all of you “Photography Wizards”, this is the place for you!
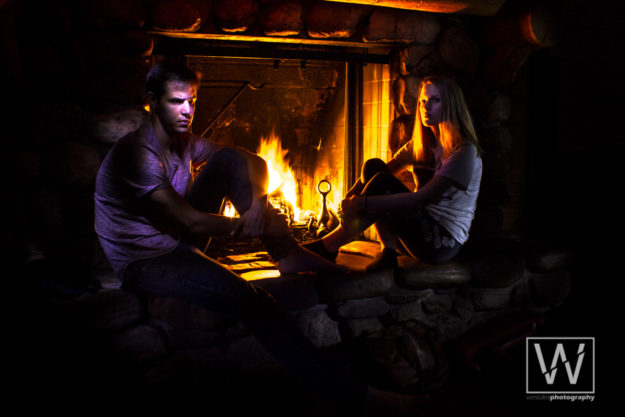
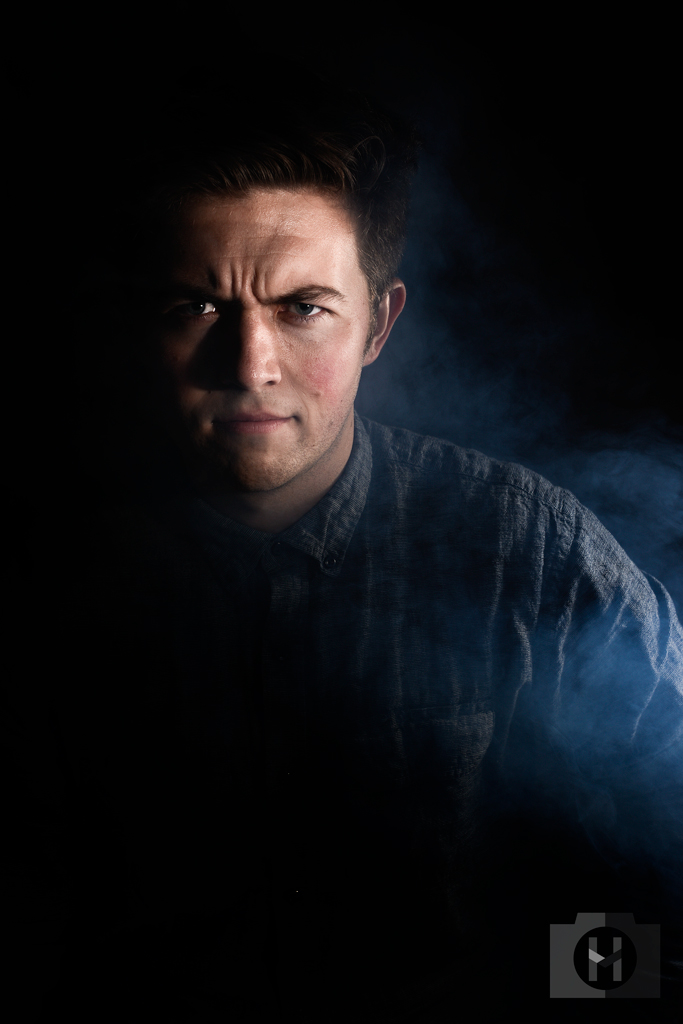
Whoa, it looks like we have a photo that should be on the cover of a murder mystery novel, but this time the murder weapon was the light, which absolutely kills (defined as awesome and epic, not as in the photo was killed. That would be tragic and sad)!
But let me tell you about what is special about this photo. This photo took a total of 15 seconds to be created. I’m not talking about set up, but 15 seconds of the actual shutter speed of my Canon DSLR opening its lens and slowly allowing the light within the frame to be absorbed and literally “paint” the scene before you with light. A common name that this is referred to is called “Light Painting”.
Light Painting
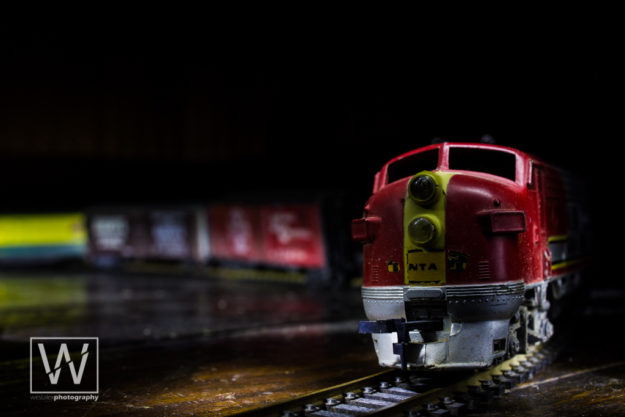
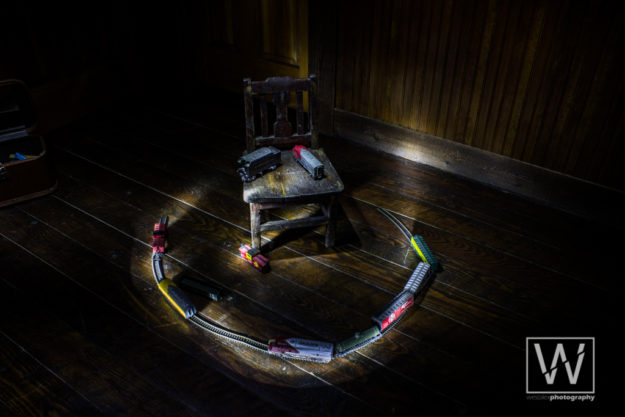
The trick about light painting is that you want to take your pictures in very dark areas. Make sure that the only light that you allow to spill onto your chosen subject or model is lit by lights that you choose. For all of my examples, I used a small mag light in order to control the movement, intensity, and overall feel of the compositions. You can frame up your pictures just like normal and creativity is king in this. As you can see above, I got real close to the model trains by putting my camera steady on the ground (stability is key; without a solid surface or tripod, your image will not turn out well). I then backed up and then lit the scene around the chair to show an alternate perspective.
Commercial and Product Photography
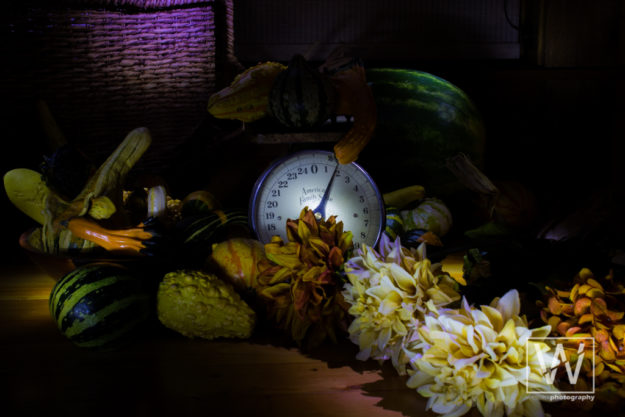
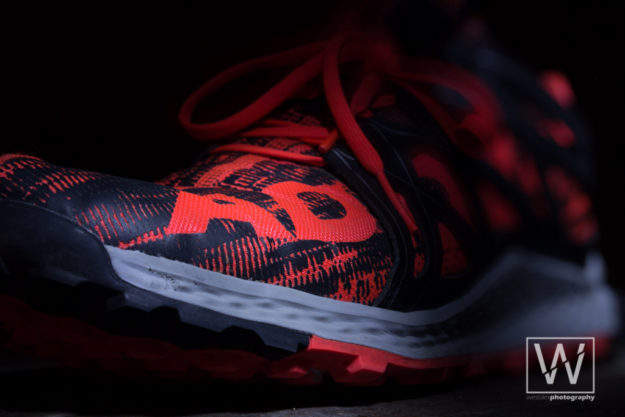
Light painting is one of those unique styles that companies are looking at and beginning to use in order to help make their products and ads stand out. In the photo above, it shows an interesting arrangement but the more interesting thing is the balance between light and dark. Simply lighting with tiny lights all over would be tedious but this style creates something powerful and really catches the eye.
Another trick I recently learned is to apply a “faux bokeh” effect. A bokeh is the effect you get with a blurry background that adds to very compelling compositions and faux means fake. The photo below seems to have been shot with a very shallow depth of field but in fact, as I took this photo, I simply lit the front half just as normal but then with the light of for 2 seconds, I turned the focus on my lens to make everything blurry and then light the back half of the shoes. Pretty tricky if you ask me!
Get Creative and Artistic
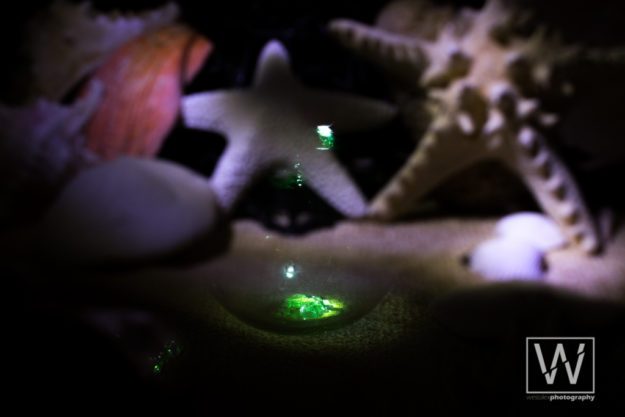
Think outside the box. As you’re lighting, don’t be afraid to try something new. With this photo, I set my exposure for 15-20 seconds and then lit the green orb for just one second then shut the light off. I then removed the orb and began lighting the background and foreground. Because I did this, the orb seems to be transparent, even though the orb is green all over. Doing this was a cool effect that I learned just from messing around. So think of new ways to get cool looking images yourself!
For more examples of professionals who use this technique phenomenally, visit Dave Black’s website and check out his Creative Lighting Portfolio. Here you will see several examples of his that show off this very unique and special style.

